indigo from indican (a less common approach)

The intro of a paper describing a biotech approach to dyeing with indigo was where I first learned that indican is in vacuoles and the beta-glucosidase enzyme is in chloroplasts (and that indican can be boiled). The researchers used two different bacterial strains to separately produce indican and an enzyme that can convert it to indoxyl + glucose, and it made me wonder if there was a way to collect indican and beta-glucosidase separately from fresh leaves.

It turns out that just wilting a leaf in hot water will burst the vacuoles, releasing the indican with most of the rest of the leaf structure still intact. Water hot enough to do that will naturally inactivate beta-glucosidase, so we end up with indican and no enzyme. And when we crush a leaf, we know from our blue fingers that we released active enzyme (plus indican of course, but the more the merrier). This is the inspiration for the approach below, which I’m sure has been done before at some point, but it doesn’t seem to be in common use.

This morning I started with just over 200 grams of freshly harvested leaves. After weighing, I rinsed them in cool water and set aside about 15 grams of tender young leaves to use as the source of enzyme.

I wilted the rest of the leaves in simmering water, adding a handful at a time.

A scrap of cotton cloth served as a filter to remove any plant debris.

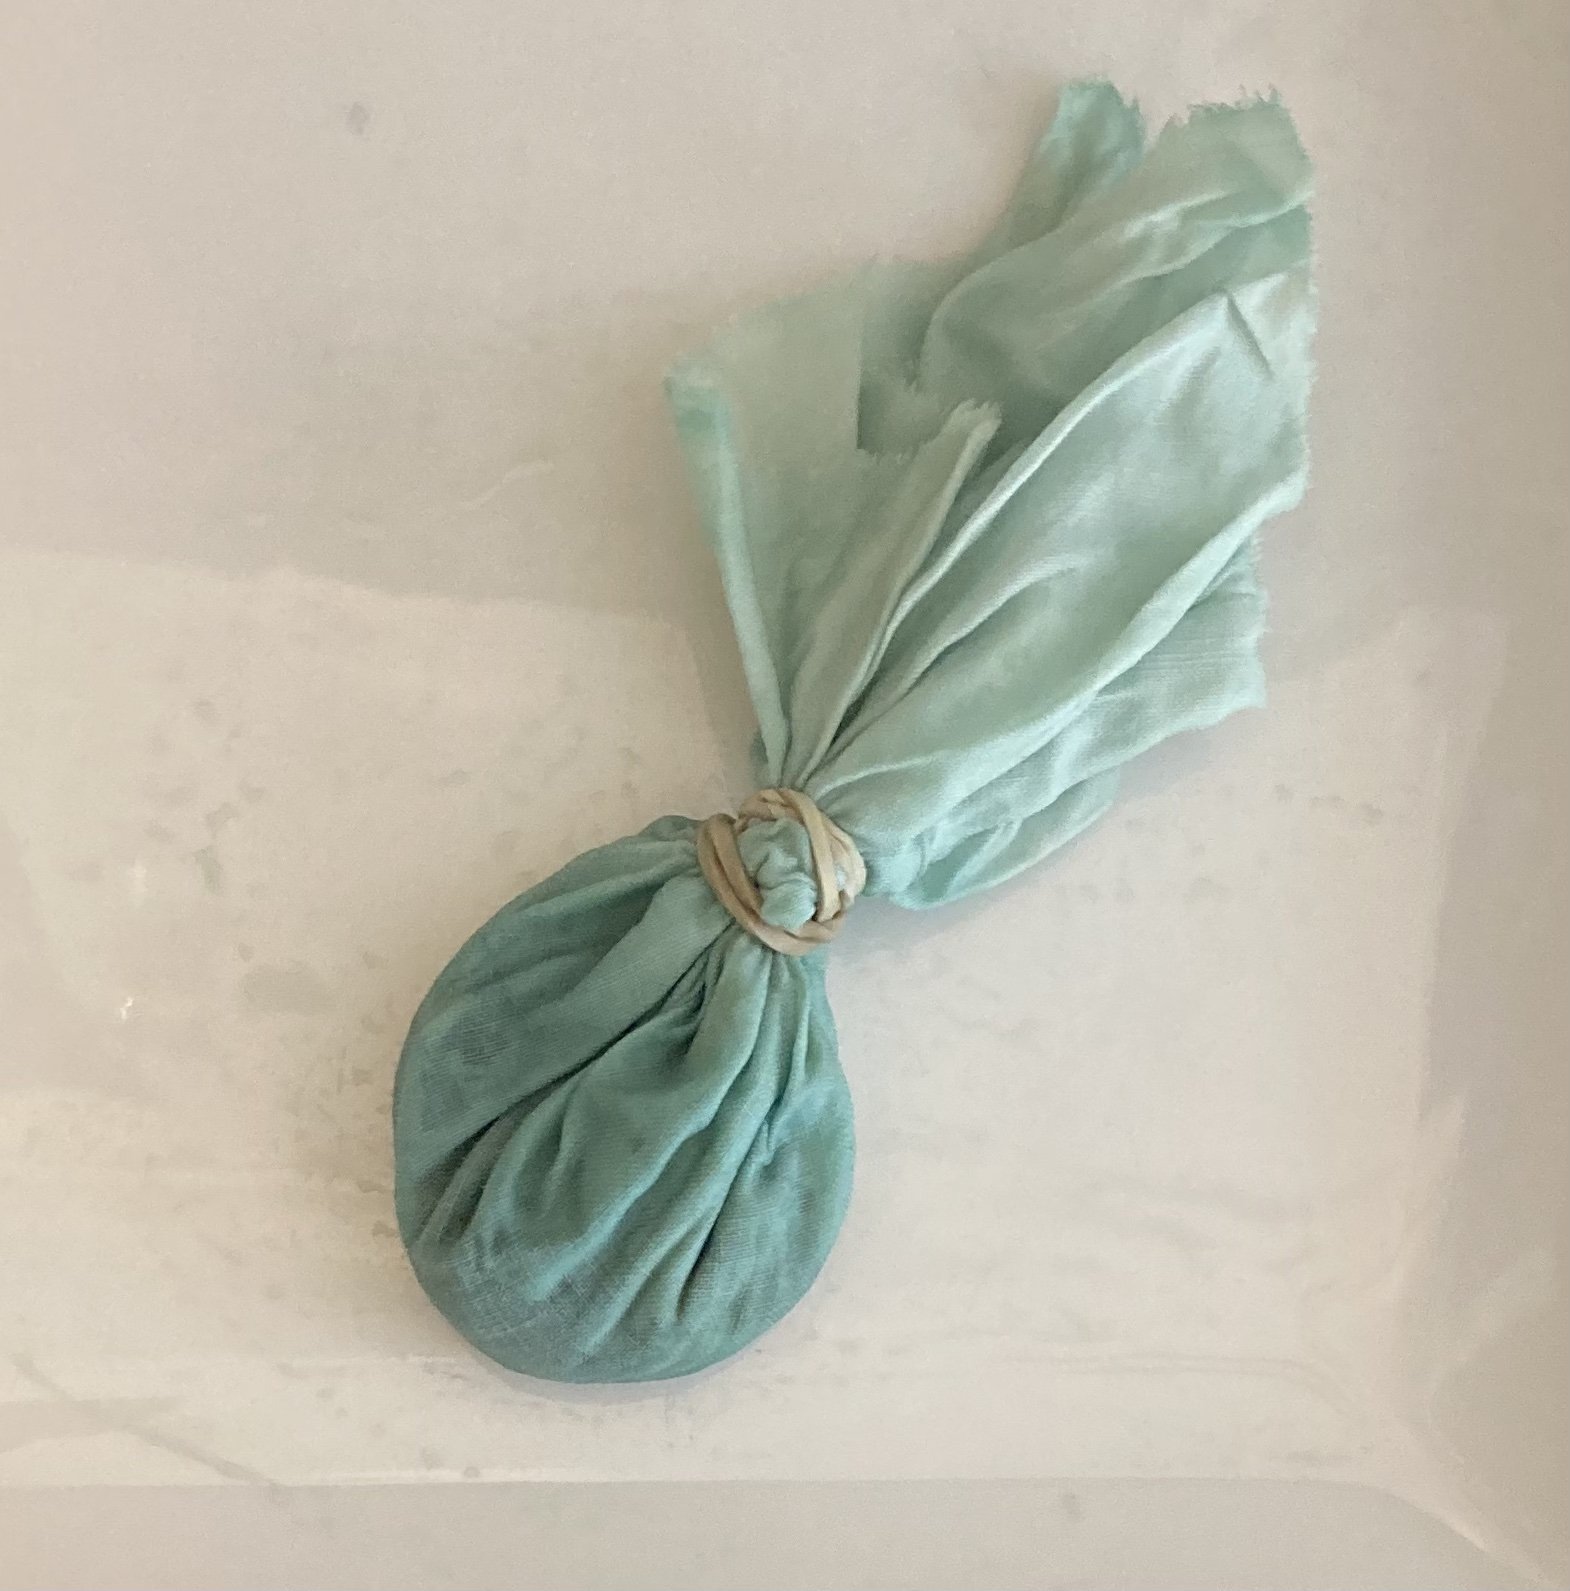
The fresh young leaves I’d set aside get tied into a tidy bundle with a smaller scrap of cotton and a rubber band.

After a quick squeeze to crush the leaves, into the indican broth it went (now in a tall glass jar so it’s easier to see each step of the process).

After some mixing and mashing, the liquid starts to scatter light — maybe tiny crystals of insoluble leucoindigo indoxyl starting to form?

At this point, I removed the fresh leaf bundle and it quickly turned a lovely light blue.

With additional swirling and stirring, the liquid keeps getting murkier and is starting to be a little bit blue.

Switching to a hand whisk is a much more efficient way to add oxygen, and things start to look very blue.

Very, very blue.

The cloth from the leaf bundle has turned darker blue as well. There’s definitely potential for adapting the technique that the researchers used in their study to build up color on cotton cloth with alternate doses of indican and enzyme

At this point, the newly formed indigo is dispersed throughout the broth as a colloidal suspension, analogous to a nice creamy milk. Getting the indigo to separate out is a bit like making cottage cheese, and I’ve had good luck with heating it up and adding a dash of vinegar. This time I forgot and added the vinegar before heating and it didn’t aggregate quite as dramatically, but I was still able to filter it out.

These are indigo “curds” from late last summer, and that batch filtered very easily. It also may have helped that the indican content was higher that time of year.

Today’s indigo from about 200 g of early June leaves, after using the cloth from the leaf bundle as the filter. The only pH adjustment was a bit of vinegar at the end and there shouldn’t be much of that left in the final product. Once I’ve collected a few more batches of indigo, I should have enough for a small vat.

playing with red cabbage and indigo pH

Having tracked down a bit more information about the behavior of leucoindigo molecules, I can get a better sense of what might be happening below the surface of my vat at different pH levels. This chart is a way to connect the red cabbage colors with the equilibrium behavior of leucoindigo as it moves between the neutral insoluble form, the soluble form that is an excellent dye, and the very soluble form that is too highly charged to dye cotton.

Read More

staying curious

I gave a second talk at Hand Eye Supply's Curiosity Club last September, and it finally feels like the right time to post it here.

As I prepared for this talk, curiosity and creativity emerged as a useful way of approaching the questions raised by a climate in flux. In the months since, I've felt restless, wondering if there's other work I should be doing, even though I love working with clay.  

So I'm trying to experiment by staying curious about whether there might be a way to creatively use the tension between these distinct parts of my life rather than just assume the solution is to choose one over the other.  

wilderness sketches

Being part of the Portland Urban Sketchers group has really helped me loosen up my drawing. Although I've often brought my watercolor set and a sketchbook while hiking, this week's trip to Jefferson Park Wilderness was the first time I've really used them, and the first time I've attempted anything more than a small sketch of a single flower. 

tree line along the whitewater trail

tree line along the whitewater trail

I of course still did sketch wildflowers (how could I resist?).

mountain aster near Russell Lake

mountain aster near Russell Lake

indian paintbrush

indian paintbrush

But the big difference is that I also tried to capture my favorite mountain. 

Mt Jefferson and Russell Lake

Mt Jefferson and Russell Lake

Here's how it turned out.

watercolor sketch of Mt Jefferson and Russell Lake

watercolor sketch of Mt Jefferson and Russell Lake

getting a handle on a mug

pulled handles, ready to be attached

pulledhandles.jpg


scoring the mug body where the top part of the handle will be attached

scoring


deciding how big the handle will be

handleattachment


lower attachment site scored and slipped

handleattachement2


adding extra clay to sculpt a more substantial connection between the handle and mug body

addingextraclay


it takes a bit more time, but I like the finished look and it lets me get a sturdy connection for a thin handle

handlecomparison


new mugs, ready to dry out and get crows painted on them

newmugs

the glory of springtime

It was the spring flowers that finally got me to add some color to my work, even though I've had a whole box of underglaze colors for months. There is something so joyful, and so fleeting, in the earliest spring blossoms that I knew I wanted to capture something of that. What better way than sketching directly on clay? 

greenwarepearblossoms

The pencil marks burn out in the firing, and it's always a bit of a surprise to see how the underglazes turn out.  

finishedpearblossoms.jpg

And just so you know, all the pear blossoms were collected from this broken branch.

peartrees

painting crows on clay

I love the shapes crows make as they fly, but finding a way to recreate their inky silhouettes on clay has been a challenge. I think I'm finally coming up with a strategy that's fairly straightforward. 

crowstamps

It starts with a set of custom rubber stamps that I ordered from Atlas Stamps (so much easier than the handmade option). After the pot is trimmed and dried, but before it's been bisque fired, I gently stamp the images onto the clay, curving the rubber stamp to match the shape of the fragile greenware.  

twoinkcolors

Pretty much any kind of stamp pad with do. These two were given to me and my sisters sometime in elementary school, and somehow (amazingly) still have enough ink and moisture to be usable. I start with a light color, which gives me the option of redoing the stamp if I don't like the placement. The organic dyes in the stamp pad will all burn out in the firing, so I don't worry about any extra marks I've made on the clay.

paintingimage

I then use a very fine brush to paint black underglaze over the stamped outlines, using the original set of photos as a reference. 

photo 4.JPG

Once the underglaze is on, they're ready to be bisque fired. It also works to do this stamping and painting on bisqued ware, but the raw underglaze sometimes resists the glaze, leaving an uneven surface on the finished piece.  

sketchcrawl Saturday

The weather the last few days has been beautiful, and what better way to celebrate it than spend the morning outside sketching the first flush of cherry blossoms along the waterfront in downtown Portland? I joined Portland's Urban Sketchers and tried my hand at sketching cherry trees against the backdrop of the Steel Bridge.  

steelbridgesketch.JPG

I'm still learning how to pick out the relevant details from a landscape scene for the sketch, but being around so many talented artists was incredibly inspiring. I finished up with some close up sketches of cherry blossoms, which was so much easier. 

cherryblossomsketch.JPG

Afterwards, a group of us went to see TIm's Vermeer (a very entertaining documentary about an inventor recreating a Vermeer painting), then tried out a neolucida that one of the sketchers had brought along. It felt a little like cheating to trace a sketch from life, but I think I'm going to have to get one. And if Vermeer wasn't above optical assistance, why should I be? Here's a really quick sketch I made using the device. 

neolucidasketch

As I biked home, I started wondering what it would look like to use it for sketching on a curved clay surface....

the first year

This month marks a full year that I have been filling my days with clay. I began provisionally – giving myself permission to take six months away from the job search to do the one thing I still felt inspired to do. The studio where I'd been taking classes offered a monthly partnership with unlimited access at a very reasonable rate, and I was just getting to the point where I needed practice more than instruction, so in March 2013 I became a regular at the studio. And somehow, here I am, still at it. 

greenware pitchers